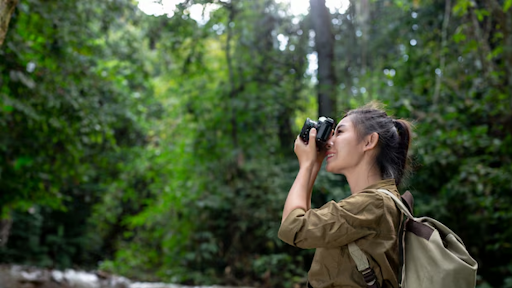
Every photographer knows the thrill of capturing the raw beauty of nature, but when you’re on tour—whether it’s photographing wildlife, birds, or breathtaking landscapes—the challenge becomes even more pronounced.
The lighting is often unpredictable, and the action is fast-paced. One wrong click, and you could miss that perfect moment when a bird takes flight, a predator stalks its prey, or the sun sets over a dramatic landscape.
So, how can you manage the ever-changing lighting conditions and ensure that every shot is perfectly illuminated?
We’ve gathered essential tips and best practices to help you master the art of tour photography in natural environments, especially when managing lighting.
Stick around because we’re about to take your nature photography shots to the next level.
1. Understand The Environment And Its Lighting Conditions
Before embarking on your photography tour, take time to research the environments you’ll be photographing. Whether it’s a dense forest, a savanna, or a coastal region, each location comes with its own unique lighting challenges. Factors like time of day, weather, and the sun’s angle can significantly impact the photos you capture.
- Time of Day: Early morning and late afternoon offer the best light for nature photography. This is when the sun is lower in the sky, creating softer, more flattering light with longer shadows that add depth to your images.
- Weather Conditions: Cloudy days are perfect for diffused, even lighting, while bright sunny days create harsher shadows and high contrast. Understanding how these conditions affect the landscape and your subjects will help you plan your shots more effectively.
2. Master Your Equipment
Proficiency with your camera gear is essential to managing the lighting in various settings. Whether you’re photographing wildlife in the wild or birds in flight, your gear needs to be adaptable to a range of lighting scenarios. Key settings to pay attention to include:
- Shutter Speed: When photographing fast-moving wildlife, a faster shutter speed (1/500s or faster) is essential to freeze motion and capture crisp details without blur.
- Aperture: A wider aperture (f/2.8 or lower) allows more light to enter the lens, which is especially important in low-light conditions, such as early mornings or sunsets.
- ISO Settings: Adjust the ISO to balance exposure and light sensitivity. In low-light conditions, increasing the ISO helps brighten the image, but be mindful of noise, which can reduce sharpness and clarity.
3. Use Natural Light To Your Advantage
One of the most important skills for any tour photographer is using natural light creatively. Nature provides an abundance of beautiful lighting, but it requires the photographer to be mindful of its fluctuations throughout the day. Here’s how to make the most of it:
- Golden Hour: The golden hour, just after sunrise and before sunset, provides warm, soft light that enhances textures and creates a magical atmosphere. These hours are perfect for capturing wildlife or landscapes in their best light.
- Backlighting: Backlighting can create striking silhouettes and dramatic contrasts, especially when photographing birds or animals against a sunrise or sunset. Position yourself so the light source is behind the subject, and experiment with the exposure to get the perfect balance.
4. Embrace Low-Light Techniques
When photographing wildlife at dawn, dusk, or in dense forest environments, you may often work in low-light conditions. Here are a few tips to handle these challenging lighting scenarios:
- Wide Aperture: Using a wide aperture (f/2.8 or lower) allows more light to reach the camera sensor, helping you capture clear images in dim lighting. This is especially useful for bird photography or capturing the movement of nocturnal animals.
- Increase ISO: Don’t be afraid to increase your ISO in low-light settings, but be mindful not to go too high, as it can introduce noise and affect the image quality. A good balance will allow for sharp, well-lit images without excessive grain.
- Stabilize Your Camera: In low-light situations, you may need slower shutter speeds. Use a tripod or other stabilization methods to prevent camera shake, especially when photographing landscapes or stationary wildlife.
5. Use Reflectors And Diffusers
Sometimes, the natural light isn’t enough, or it’s too harsh. This is where reflectors and diffusers come in handy for tour photographers working in varying lighting conditions. Reflectors bounce light back onto your subject, filling in shadows and adding warmth to your photos.
- Reflectors: A portable reflector can help redirect light to illuminate wildlife in dark forest settings or brighten up your subject when the sun is behind clouds.
- Diffusers: In situations with harsh midday sunlight, a diffuser can soften the light, reducing the intensity of the sun and preventing harsh shadows that detract from the image.
6. Post-Processing For Lighting Enhancement
Even with the best in-camera settings, post-processing can be vital in enhancing the lighting and exposure of your photos. During the editing process, you can fine-tune the exposure, contrast, and shadows to better reflect the lighting you experienced during the shoot.
Conclusion
Managing lighting in various venues is one of the most challenging aspects of tour photography, especially when photographing wildlife or nature in fluctuating conditions. Understanding how to use natural light, adjust your camera settings, and incorporate additional tools like reflectors and diffusers will help you get the best results.