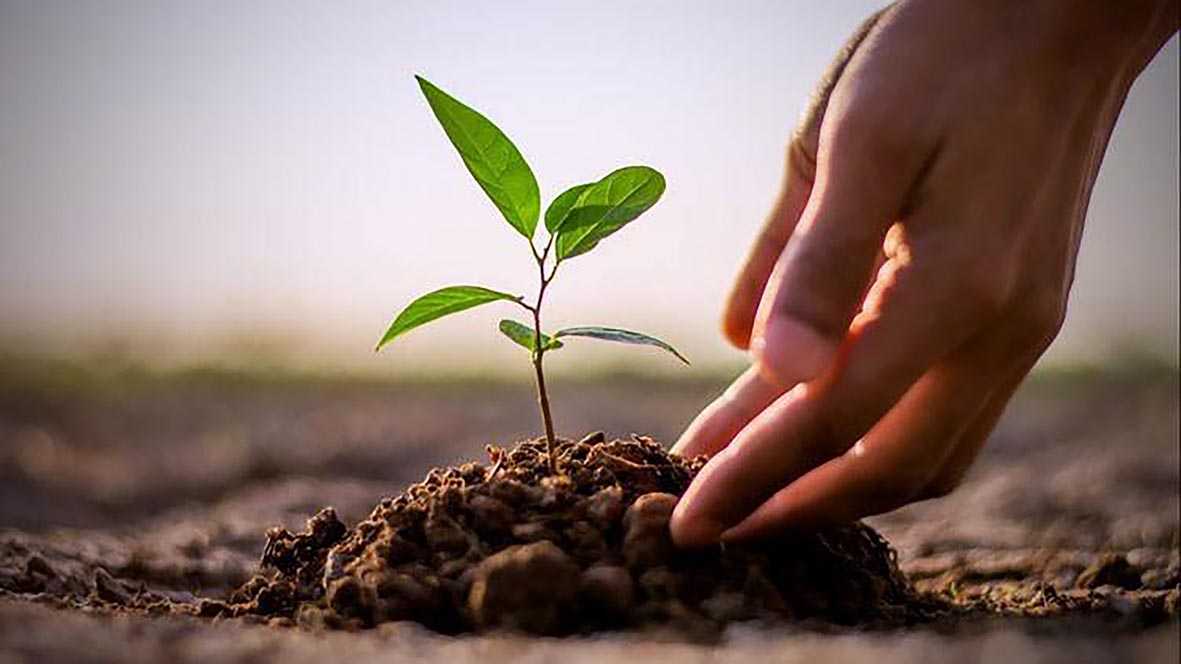
Understanding the different stages of seedling development is essential for any gardener. Each phase requires specific care to ensure healthy growth and robust plants. By recognizing the needs of seedlings at each stage, you can provide the optimal conditions for their development. Proper care at every phase lays the foundation for a thriving garden and a bountiful harvest.
1. Germination
What to Expect:
Germination is the first stage of development, where a seed begins to sprout. This process starts with water absorption, causing the seed to swell and break through its coat. You’ll notice a small root (radicle) emerging, followed by a shoot (plumule) that pushes upward.
How to Support:
- Moisture: Keep the soil moist but not to the extent that it becomes waterlogged. Just lightly mist by using a spray bottle.
- Temperature: Most seeds germinate best at temperatures between 65-75°F (18-24°C).
- Light: Some seeds need light to start germinating, while others do not. Check the specific needs of your seeds.
2. Seedling Emergence
What to Expect:
Once the seed has germinated, the shoot pushes through the soil surface, and the first set of leaves, known as cotyledons or seed leaves, appear. These leaves are usually different in shape and appearance from the true leaves that follow.
How to Support:
- Light: Provide ample light, ideally 12-16 hours daily. If there is insufficient natural light, use a grow light.
- Moisture: Keep the soil evenly moist. Avoid overwatering, which can lead to damping-off, a fungal disease that kills seedlings.
- Air Circulation: Ensure good air circulation to prevent fungal growth and strengthen the seedlings.
3. True Leaf Development
What to Expect:
The true leaves, which are the plant’s actual leaves, develop after the cotyledons. These leaves resemble the mature plant’s foliage. At this stage, the seedlings begin to photosynthesize more effectively and grow more robustly.
How to Support:
- Nutrients: Once the true leaves appear, start providing a diluted, balanced fertilizer. Follow the instructions carefully to avoid over-fertilizing.
- Light: Continue providing sufficient light to promote healthy growth.
- Spacing: Thin out overcrowded seedlings to prevent competition for light, water, and nutrients.
4. Rapid Growth
What to Expect:
During this stage, seedlings enter a period of rapid growth. The stem elongates, and more true leaves develop. The root system also expands significantly, anchoring the plant and absorbing more nutrients and water.
How to Support:
- Watering: Water deeply but less frequently to encourage strong root development and ensure proper drainage to prevent root rot.
- Fertilization: Feed the seedlings with a balanced fertilizer every 1-2 weeks.
- Support: Some seedlings may require support, such as small stakes, to keep them upright as they grow taller.
5. Hardening Off
What to Expect:
Hardening off is the process of gradually acclimating indoor-grown seedlings to outdoor conditions. This stage is critical for reducing transplant shock when moving seedlings to the garden.
How to Support:
- Gradual Exposure: Start by placing the seedlings outside in a sheltered, shady spot for a few hours each day, gradually increasing their exposure to sunlight and wind over 7-10 days.
- Temperature: Avoid exposing seedlings to extreme temperatures. If nighttime temperatures drop below 50°F (10°C), bring them indoors.
- Watering: Maintain consistent moisture levels during the hardening-off process.
6. Transplanting
What to Expect:
Transplanting involves moving the hardened-off seedlings from their pots or trays to their final location in the garden. This stage is important for setting the stage for mature growth and productivity.
How to Support:
- Timing: Transplant seedlings on a cloudy day or late afternoon to reduce transplant shock.
- Preparation: Prepare the garden bed by adding compost or organic matter to enrich the soil.
- Planting: Dig a hole slightly larger than the root ball, gently place the seedling in the hole, and backfill with soil. Water thoroughly after transplanting.
7. Post-Transplant Care
What to Expect:
After transplanting, seedlings need time to adjust and establish themselves in their new environment. As they adapt, they may experience a brief period of slowed growth.
How to Support:
- Watering: Ensure the soil has just the right amount of moisture. Place a layer of mulch around the seedling base to keep water and prevent weed growth.
- Protection: Protect seedlings from pests and harsh weather conditions. Consider using row covers or protective cloches.
- Monitoring: Regularly check for signs of stress or pest damage and address any issues promptly.


